

Have you ever seen something so stunningly beautiful it has given you the spark to create something you have never tried before? I know I have. The last time I remember being touched to the same extent by art was when I saw Pottermore‘s interpretation of the winged keys… Well, if I’m completely honest, it was long time ago and I have been overwhelmed by art multiple times since but in my defense, I didn’t have the materials to give this project a try until recently.
Today I’m writing about winged keys -charms that were inspired by the beautiful art on Pottermore. What liked the most about their vision of the keys was that they were so full of color. I definitely wanted to have the same playfulness and joy in my own version the keys.
So all in all this project took some time from the idea of crafting them to the completion, but at least I could say they worth the wait. I mean I could… Yes they are beautiful and all, but I faced insurmountable obstacles let’s just say that I learnt a lot during the process of making them. Now that they are all finished I want to forget everything about my crazy idea of crafting faux tiffany.
This post is going to be very long. (You can’t say I didn’t warn you.)
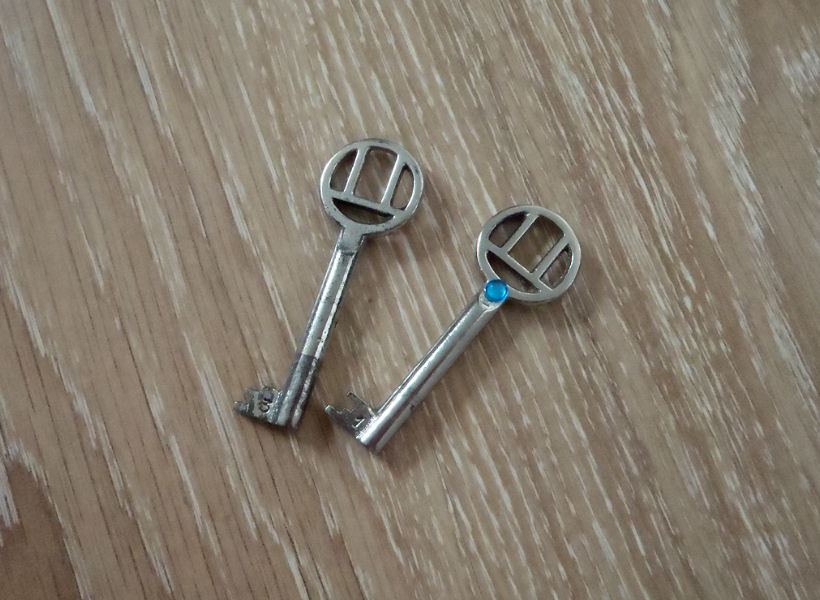
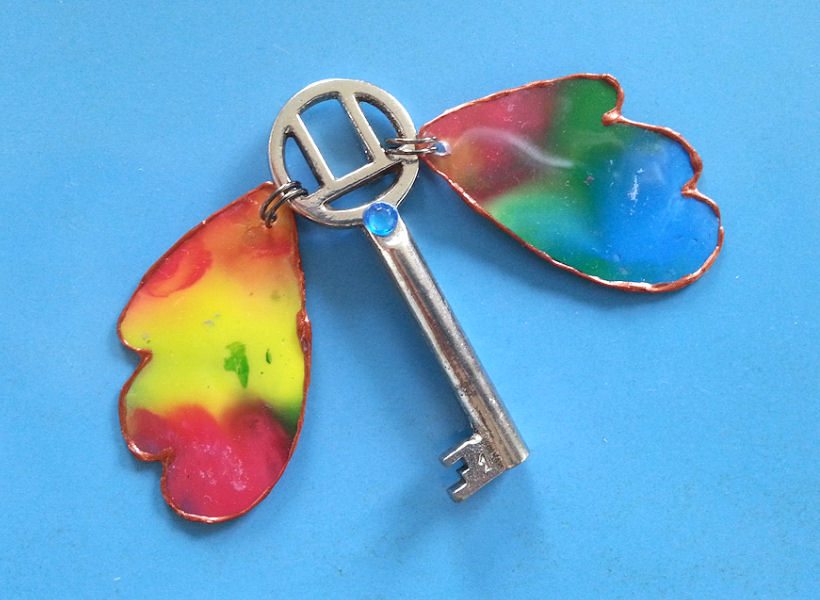
Like I already mentioned, I had planned on crafting winged keys for quite some time but, needless to say, I couldn’t begin before I had the keys I could use as a base. When my aunt gave me these old drawer keys, I was finally able to start! (The blue fake jewel on the right one is glued on, I had had it lying around for ages so I was happy to finally get rid of it.)
I began this post by asking you if you have ever wanted to try something completely new because of a piece of art. The something new I tried with this project was to create something that would look like glass but would actually be plastic. I don’t know whether “faux tiffany” is a legit term or not but it was all I could think of when naming this ridiculous experiment. My glorious idea for the wings was to have a layer of colorful paints between two layers of plastic film…
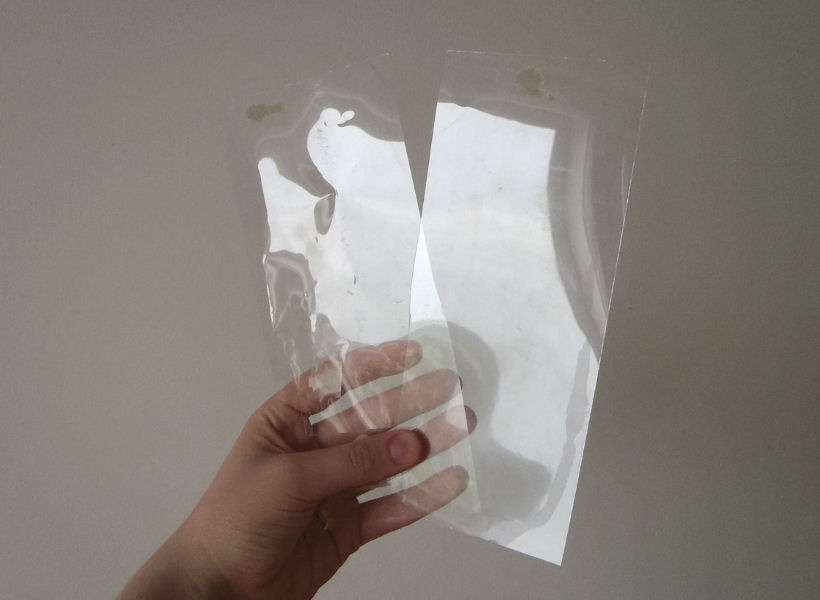
With that being said, the first thing I did with the wings was to cut two same size pieces of plastic film. I got the film I used from a food packaging. It’s kind of heavy and keeps its shape well, which made it perfect.
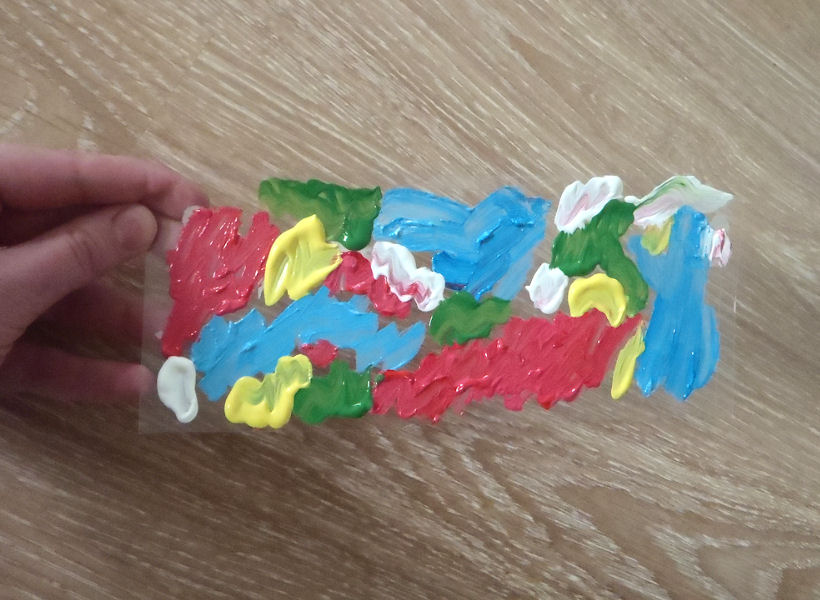
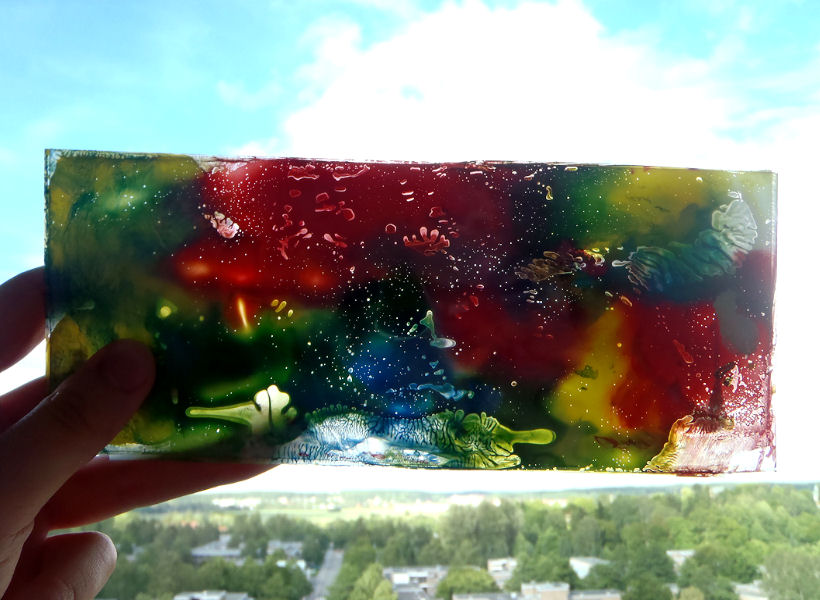
Step two was applying acrylic paints of various colors on to one of the plastic films. Here I tried to keep the colors separate from each other, as bright and pure as possible.
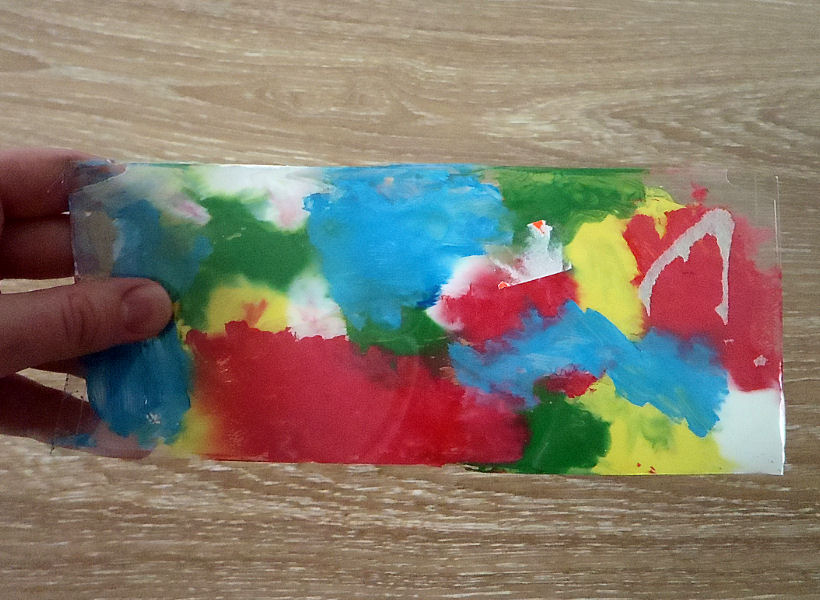
Next I placed the other film on top and pressed them against each other. I didn’t use much force so that the layer of paint wouldn’t get too thin. At some points near the edge the paint did get too thin however, but I simply added more paint there. To get the tie dyed -effect, I gently rubbed the films against each other to get the paints mix. You can see there were some stains on the film, but I left them on the side that faced outward and cut my wings from around them.
This is the point where I faced the first problem with this project:
Paints needed to dry thoroughly before I could do anything else. Because I applied quite generous amounts of paints the drying process was painfully long. Seriously, it took nearly two months for it to fully dry! I was lucky to have lots of time, but it was kind of stupid of me to think that acrylics would dry quickly without being in touch with air… You live and learn, I guess.
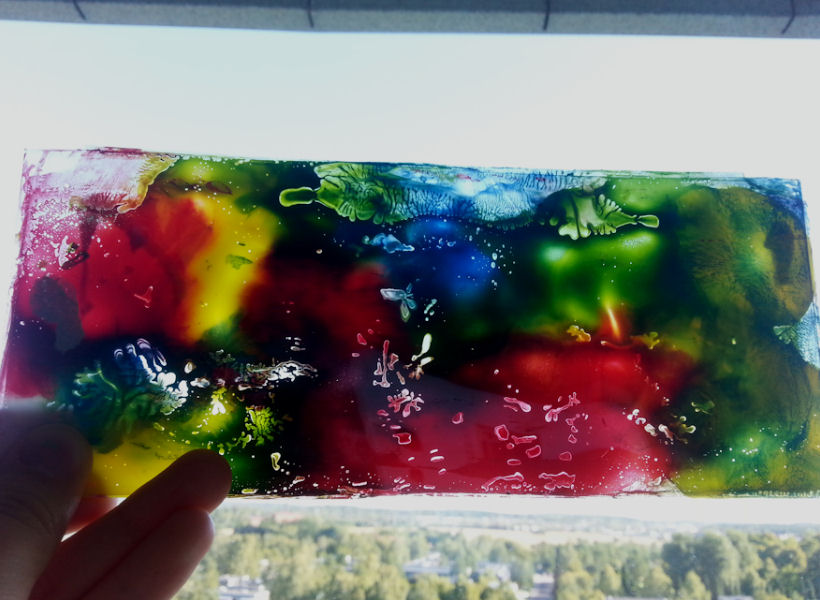
While drying, there appeared small air bubbles in the paint. I did my best to press them out.
The deletion of air bubbles mixed the paint even more but I’m happy with the end result. There were couple of bubbles that I couldn’t get out no matter what, but I think it’s okay anyway… I realized the paint was dry when I could press the films quite hard but paints would not mix anymore.
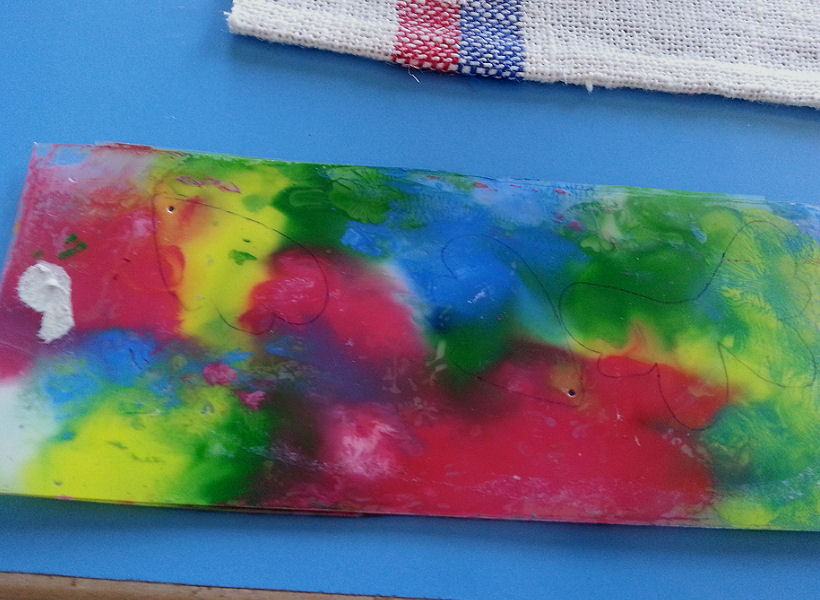
This is what the “faux tiffany” piece looked like when all dry. You can see there are places where the paint managed to escape but oh well.
The next thing to do was to draw templates for the wings. I wanted them to be somewhat same size than the keys themselves, not too small but not too large either. I avoided sharp corners with the design. Because I had two keys, I wanted to try two different ways of attaching the wings. The template on the right is for gluing on and the one on the left for miniature split rings.

I transferred the shapes on to the film with markers and bunched holes with a large needle for the split rings before cutting them out. I avoided the air bubbles and stains as best as I could. The remaining marker lines on the ready-cut wings came out easily with wet tissue.
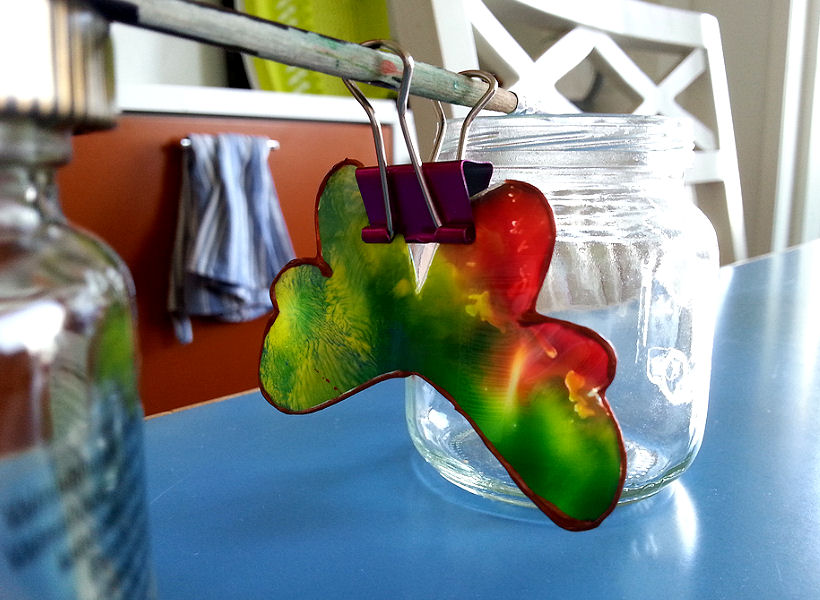
Having cut the wings out I came to the conclusion that their edges would absolutely need to be sealed off somehow. The only way to do this with the materials I had on hand was to apply 3D fabric paint all around them. (Although it said on the bottle that the paint was for all surfaces, not just for fabrics, it was not to most durable idea as you get to hear in a second.) It was a little tricky to seal the edges because they couldn’t be in touch with anything while drying, but I managed to avoid the problem by hanging the wings on clothespins.
It took a day or so for the sealing to dry. After that I attached the wings to the keys. I used regular crafting glue with the wings that were meant to be glued on. Looking back to it, hot glue would have been a better option. If they come off one day in the future, I will most definitely reattach them with a hot glue gun.
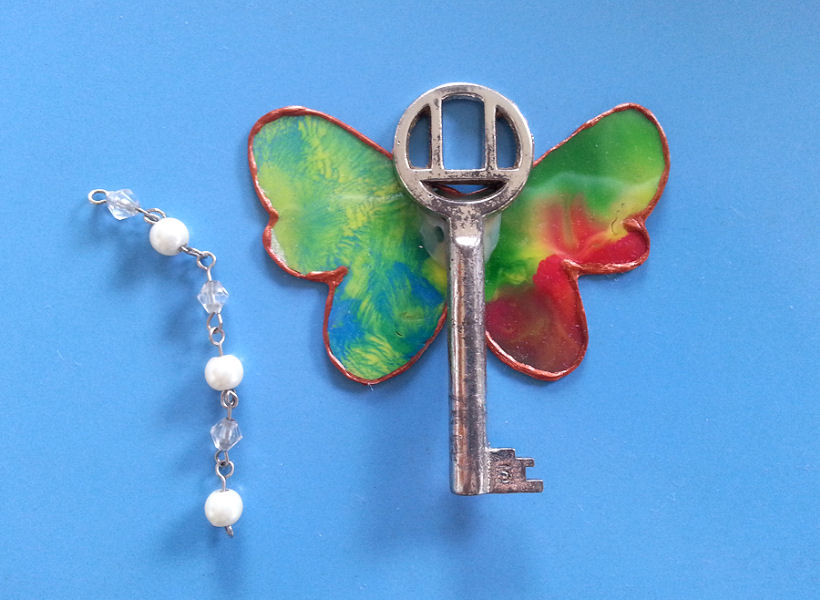
The finished winged key #1 was a little boring so I decided to cheer it up with a short chain that had pearls and beads on it.
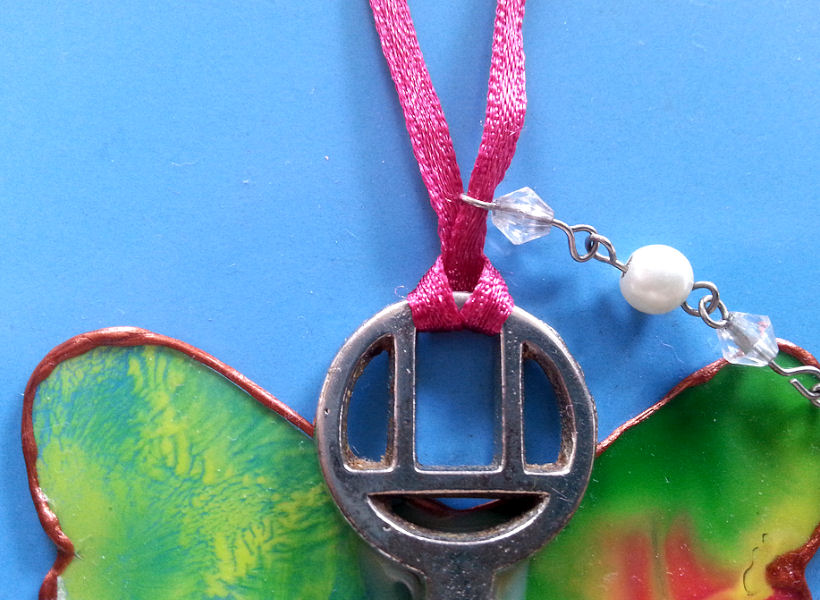
The last thing I did with this key number 1 was tying a piece of silk ribbon to the top to create a hanging loop. The chain was put on the ribbon as well and I had a cute little Potter-inspired winged key -ornament ready waiting for the holiday season.
At this point you may be wondering “didn’t she say she used two different methods of attaching the wings? Why is she only writing about the one, not about the other?” Well *cough* that is because the the other method that involved mini split rings was probably the worst crafting idea I have had in a while.
Because the split rings were too tight, they were nearly impossible to get to the wings as well as to the keys. I hurt my hands with the process of wringing them open with pliers. Plus, the ripping damaged the sealing near the holes, so I had to reapply it to both of the wings. And that was easier said than done… If I said it was tricky to keep the edges separate of everything while waiting for them to dry in the first place, it was a lot harder now that the edges that needed sealing were already attached to the key. Of course I couldn’t keep them from touching anything while they were still wet and because of that the edges are messier than I would want them to be. The only positive side with this attaching method is that it allows the wings to move.
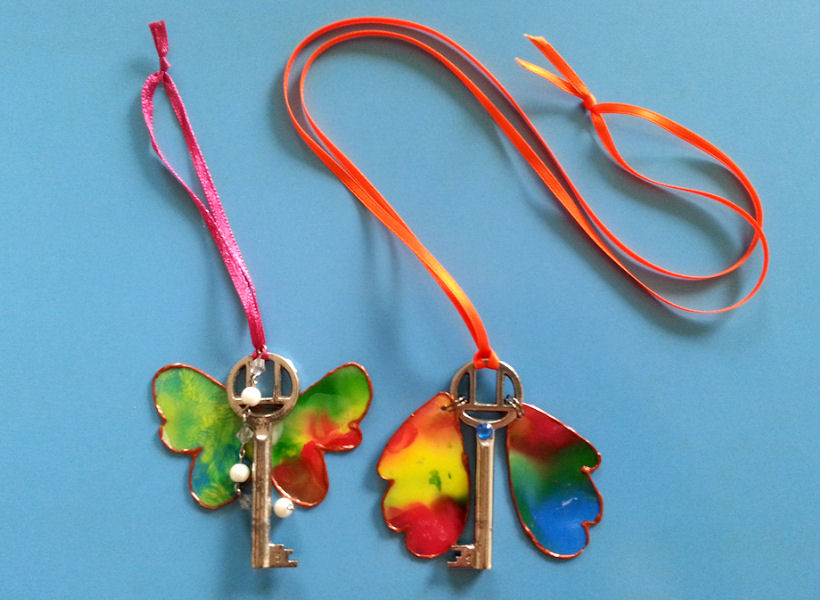
I tied a piece of silk ribbon to this key as well but this time I made the loop much longer so I could use it as a necklace. No, you can’t see the ribbon in the picture below.
I’m going to repeat myself a little but I’m happy now that this project is finally over. The keys really are beautiful to watch, and that is perhaps the most important thing because it makes me happy, but I’m never going to craft these again (it was too painful for my frail hands). On top of all that, the necklace is a little too heavy to wear all through the day, at least for me… Luckily necklaces are easy to take off :D.
By the way, which one do you think is prettier, the ornament or the necklace?
Thank you for reading!
